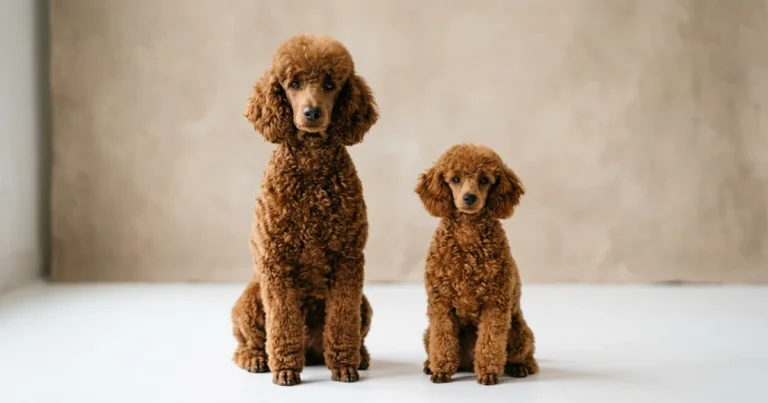
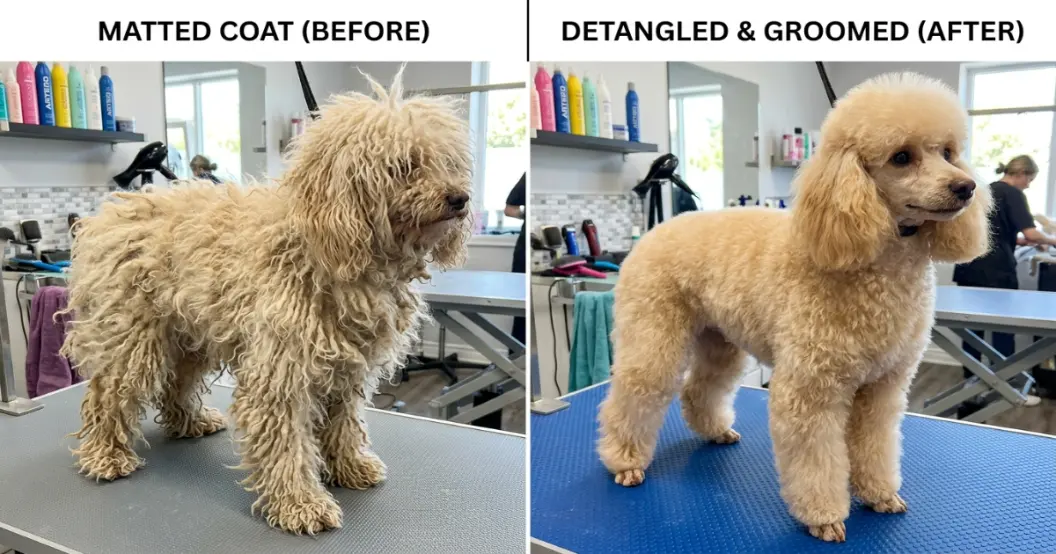
How to Remove Mats from a Poodle’s Coat
Mats are one of the most frustrating realities of poodle ownership — but they don’t have to mean a drastic shave-down. With the right technique and tools, most mats can be worked out safely at home. Here’s exactly how to do it.
Quick Answer: How Do You Remove Mats from a Poodle?
To remove mats from a poodle’s coat, work from the tips toward the skin using a detangling spray and a dematting comb or slicker brush. Hold the base of the mat with your fingers to prevent skin pulling, and tease apart the knot in small sections rather than forcing through it. Severe mats — ones that won’t budge after five minutes of gentle work — should be clipped out by a professional groomer to avoid injuring the skin beneath.
Poodle mat removal is one of those topics where the advice you’ll find online ranges from genuinely useful to potentially damaging. Ripping through a mat with a regular brush, dousing the coat in conditioner and hoping for the best, or just shaving everything off out of frustration — all of these approaches carry real risks. Coat damage, skin irritation, and a poodle who dreads grooming time are the predictable results.
The good news is that poodle coats, while uniquely mat-prone, are also uniquely workable. Because poodle hair grows continuously and doesn’t shed, you actually have more time to intervene than with most breeds. The key is knowing when a mat is still salvageable, which tools are designed for the job, and how to use them without making the situation worse. This guide covers all of it.
What Are Mats — and Why Do Poodles Get Them So Easily?
A mat is a dense, tangled clump of hair that forms when shed hairs become interwoven with the surrounding live coat, then compress under friction or moisture. For poodle owners, this means that even a poodle who appears to be well-groomed can harbor tightening mats beneath the surface layer of the coat. The most important thing to understand is that poodle mats are not a sign of neglect — they’re a structural consequence of the breed’s unique non-shedding coat, and they require a specific grooming response.
Regular dogs shed loose hairs constantly, so dead hair rarely has a chance to tangle with live strands. Poodles don’t. Their shed hairs stay trapped within the curly or wavy texture of the coat until you brush them out. When brushing is delayed — or when the coat gets wet without being properly dried and combed through — those trapped hairs start binding together. Add friction from a collar, harness, or repeated rubbing against furniture, and a mat can form within days.
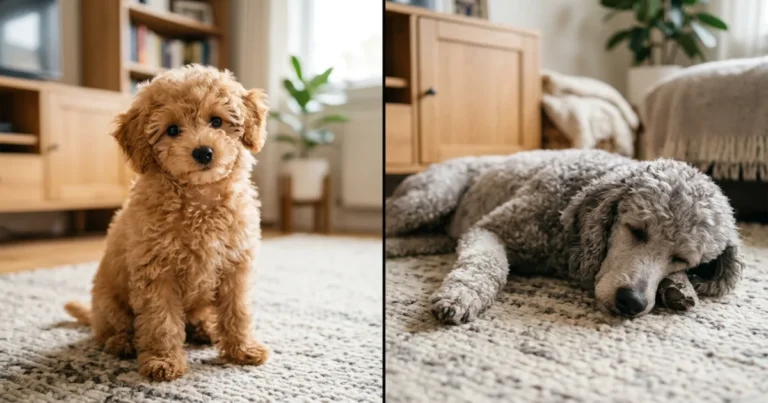
Certain areas mat faster than others. The friction zones of a poodle’s body — behind the ears, under the armpits (axillae), around the collar line, and between the rear legs — are notorious trouble spots. Puppies going through coat transition (typically between seven and twelve months, when the puppy coat shifts to adult coat texture) are especially vulnerable because the two coat types tangle with each other relentlessly during this period.
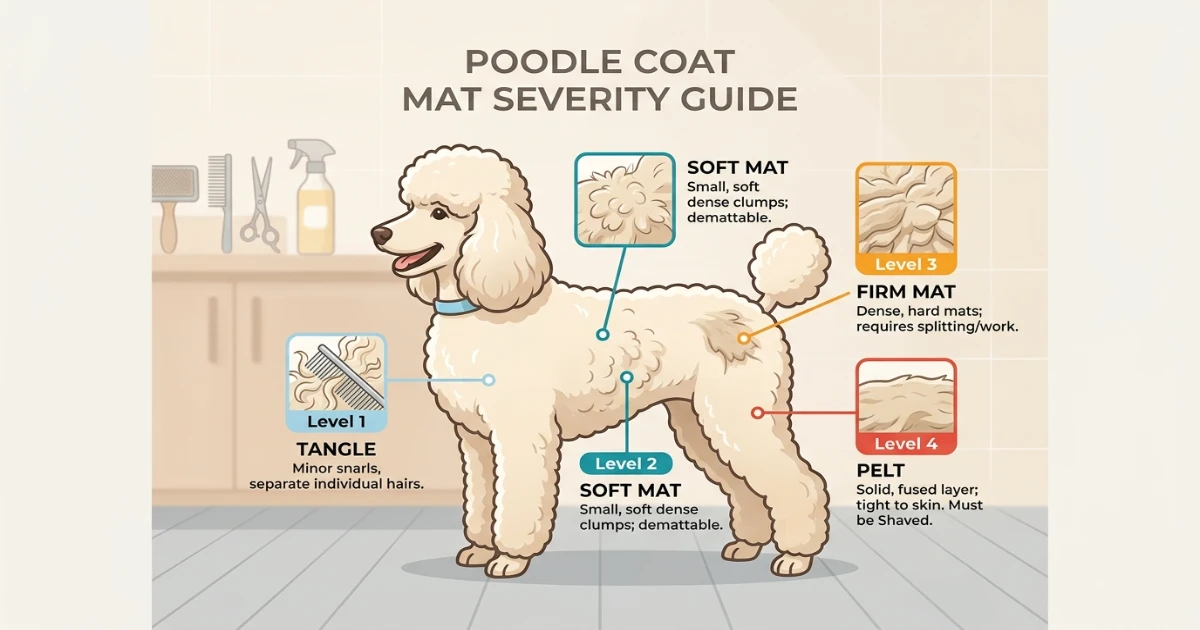
The PoodleGuru Mat Severity Scale
🎯 The PoodleGuru Mat Severity Scale (MSS)
At PoodleGuru, we evaluate poodle mats using a four-level framework before recommending any approach. The severity level determines the safest, most efficient response — and prevents owners from wasting effort (or causing pain) on a mat that genuinely needs clippers, not a comb.
Level 1 — Tangle
Loose, surface-level knot. Individual hairs are still distinguishable. Moves freely against the skin. Responds to detangler spray and a slicker brush within 2–3 minutes.
Level 2 — Soft Mat
Compressed cluster with some internal structure. Still has a little give. Needs a dematting comb and patience, but can be worked out in 5–10 minutes without pain if done correctly.
Level 3 — Firm Mat
Tightly packed, moves as a single unit. Skin may be pulled when tugged. Requires a mat splitter or seam ripper, significant time, and technique. A groomer’s input is strongly recommended.
Level 4 — Pelt
Multiple mats merged into a continuous sheet against the skin. No separation possible without tools. Attempting to brush or comb through a pelt risks serious skin injury. A professional groomer must clip this out — shaving is the only safe option at this stage.
Most poodle owners are dealing with Level 1 and Level 2 mats at home. Level 3 sits in a judgment zone — technically doable but easy to get wrong. Level 4 is always a professional job. Misidentifying the level is the single biggest mistake owners make before starting.
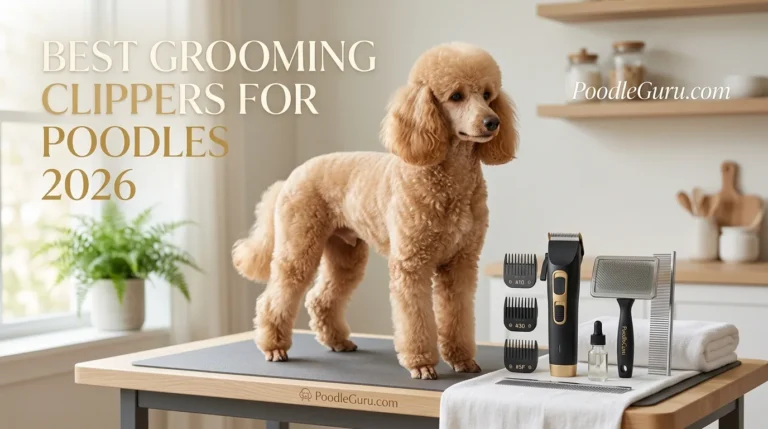
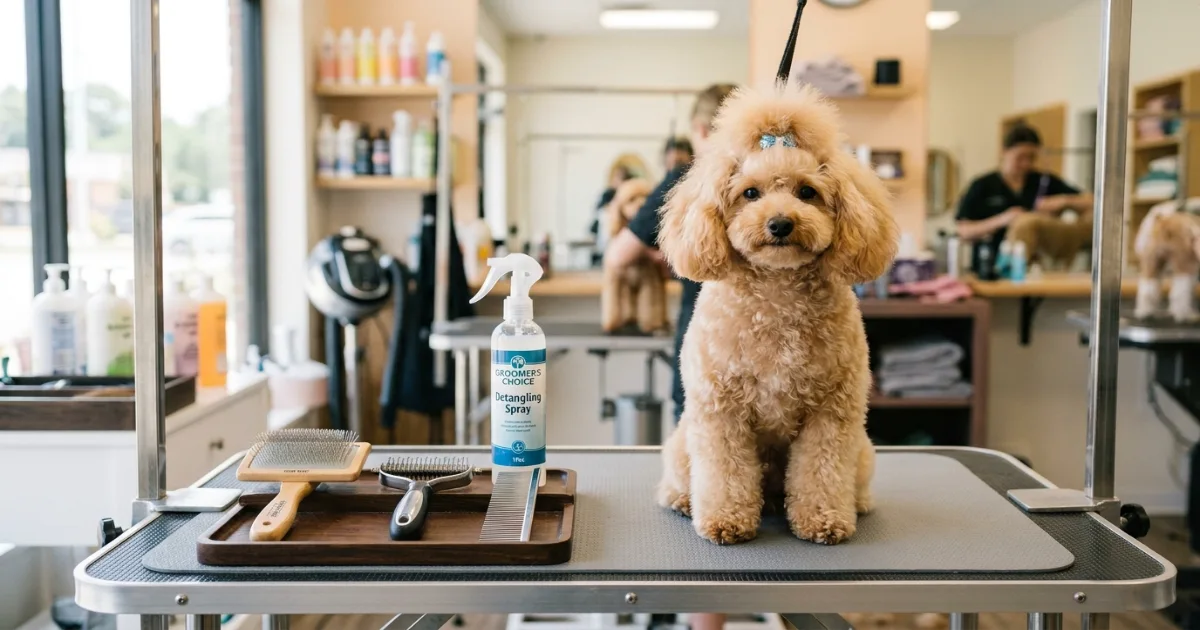
Tools You Need for Poodle Mat Removal
You don’t need a lot of tools, but you need the right ones. A regular paddle brush or a stiff-bristle brush is designed for smooth coats, not dense poodle texture. Using the wrong tool can drive a mat tighter rather than loosening it.
Detangling Spray
Adds slip to the hair shaft, making tangled strands easier to separate. Apply directly to the mat, wait 30 seconds, then begin working. A spray designed for curly or thick coats works better than standard conditioning spray on poodle hair.
Dematting Comb
Features spaced, wide teeth — sometimes with serrated or blade edges for denser mats. This is your primary tool for Level 2 mats. Work in short strokes from the outer edge of the mat inward, never from root to tip in one drag.
Slicker Brush
Fine wire pins set in a cushioned pad. Excellent for finishing after the mat breaks apart, or for Level 1 tangles. Avoid using a slicker brush on a firm mat — you’ll cause pain and potentially cause brush burn on sensitive skin.
Mat Splitter / Seam Ripper
A narrow tool with a hooked blade used to split dense mats into smaller sections before combing. Useful for Level 3 mats, but requires a confident, careful hand. If in doubt, leave this one to a groomer.
Greyhound Comb
A long metal comb with both wide and narrow tooth spacing. Use the wide end to confirm a mat is fully worked out before finishing with the narrow side. If the comb catches anywhere, there’s still a tangle present.
Small Blunt-Tip Scissors
A last resort for isolated tight knots. Never point scissors toward the skin. Only cut parallel to the coat, never across a mat toward the body. Used incorrectly, scissors cause the very injuries that require veterinary attention.
💡 Expert Insight: The Greyhound Comb Test
Professional groomers commonly use a Greyhound-style metal comb as the final check after any dematting session. If the comb glides from skin to tip in a smooth, uninterrupted stroke, the area is genuinely clear. If it catches at any point, there’s still a compacted section hiding beneath looser surface hair. Owners who skip this test often think a mat is gone when it’s actually just smaller and deeper.
Step-by-Step Poodle Mat Removal
The process below assumes a Level 1 or Level 2 mat — one that’s still moveable and doesn’t immediately spring back as a hard unit when you release it. For anything firmer, see the severity table below before proceeding.
Assess the Mat First
Before applying anything, locate the base of the mat with your fingers and gently press it against the skin. Note whether it moves freely, resists movement, or feels rigid like a disc. Use the PoodleGuru Mat Severity Scale to assign a level. A mat that doesn’t compress at all under light finger pressure is a Level 3 or above — do not attempt to brush it.
Apply Detangling Spray
Spritz the detangling spray directly into the mat and the surrounding coat. Part the coat gently to get the spray close to the skin — the base of a mat is usually the densest part. Let it absorb for 30 to 60 seconds. Don’t skip this step. Dry hair grips itself; a lubricated strand releases far more easily.
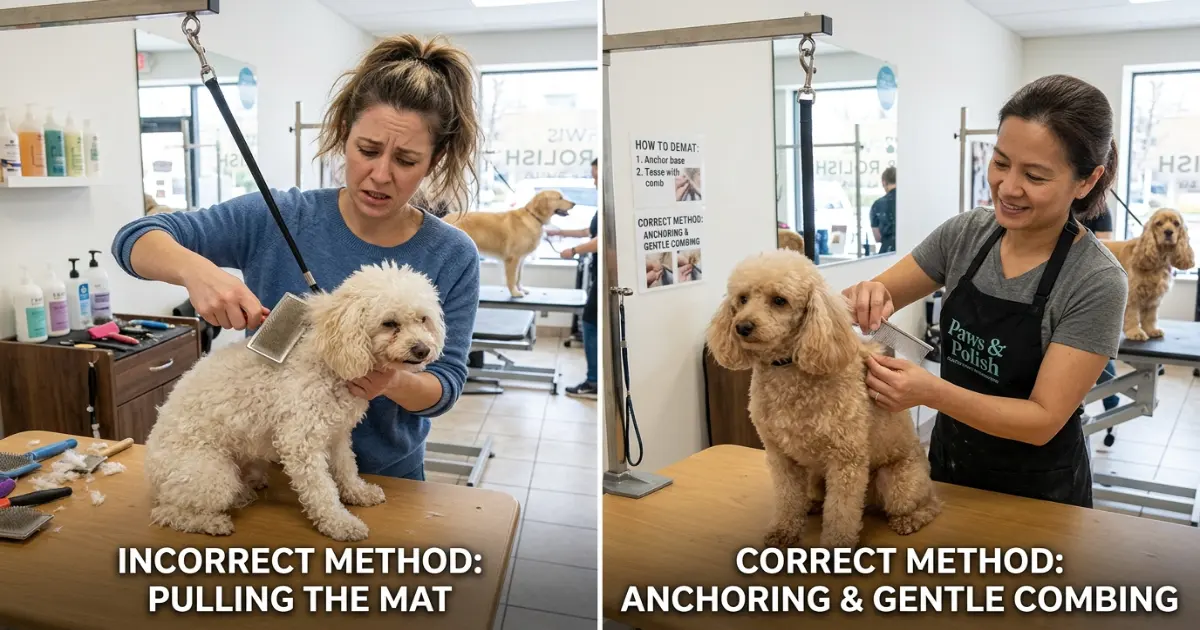
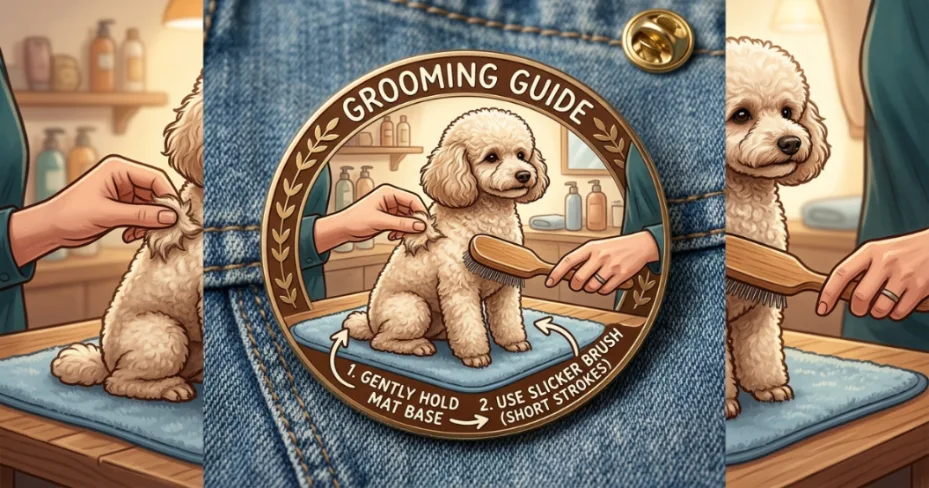
Anchor the Base with Your Hand
Use the fingers of your non-dominant hand to hold the base of the mat — the area right above the skin. This is the single most important technique in home mat removal. It prevents every stroke of the comb from pulling directly on the skin, which causes pain and makes the dog resistant to grooming. Hold firmly but don’t pinch the skin.
Work the Outer Edge First
With a dematting comb, start at the very tips of the mat — the outermost strands furthest from the skin. Use short, controlled strokes. You’re not dragging the comb through the mat in one pass; you’re releasing a few hairs at a time from the outside in. Gradually, the mat will get smaller and softer as the outer layers come free.
Split Large Mats Before Combing
If the mat is wider than roughly two finger-widths, divide it into smaller sections by pulling it apart with your fingers (or a mat splitter for denser mats). This dramatically reduces the force required on any one area. Each smaller section can then be worked independently with the comb, which is faster and much gentler on the coat.
Follow with a Slicker Brush
Once the dematting comb moves freely through the area, follow with a slicker brush in long, gentle strokes to smooth the remaining loose hairs and confirm the tangle is fully gone. Keep anchoring at the base. If the slicker brush catches again, return to the dematting comb — don’t force through it.
Finish with a Greyhound Comb Check
Run the wide-tooth side of a Greyhound comb through the treated area from skin to tip. It should glide without catching. If it catches, there’s still a hidden pocket of tangles. Only when the comb passes completely clean is the mat fully removed. Finish with the narrow-tooth side for a final coat check.
Poodle Mat Severity vs. Best Response: The Full Decision Table
This table is designed to help you make a fast, confident decision when you find a mat. The “Owner vs. Groomer” column reflects our honest assessment at PoodleGuru — not a conservative blanket recommendation to always book a groomer, but a realistic judgment based on what each mat type actually requires.
| MSS Level | Mat Characteristics | Skin Risk | Primary Tool | Time Required | Owner vs. Groomer |
|---|---|---|---|---|---|
| Level 1 — Tangle | Loose, surface-level, hairs still distinct | None | Slicker brush + detangler spray | 2–3 min | ✅ Owner — easy |
| Level 2 — Soft Mat | Compressed, some give, outer hairs still loose | Low | Dematting comb + detangler spray | 5–10 min | ✅ Owner — with technique |
| Level 3 — Firm Mat | Rigid unit, minimal movement, inner structure dense | Moderate | Mat splitter → dematting comb | 15–25 min | ⚠️ Groomer recommended |
| Level 4 — Pelt | Mats merged into a sheet, skin contact throughout | High | Professional clippers | N/A — clip only | 🚫 Groomer only — do not attempt at home |
One detail this table captures that most competitor pages miss: time matters. A Level 2 mat you can resolve in eight minutes at home will become a Level 3 mat within two to three weeks if left alone. Checking your poodle’s coat in the high-friction zones every four to five days gives you enough lead time to handle most mats at the easier levels.
Mistakes That Make Mats Worse (and What to Do Instead)
⚠️ Common Poodle Mat Removal Mistakes
| The Mistake | Why It Happens | The Real Problem | What to Do Instead |
|---|---|---|---|
| Bathing before brushing | Owners assume water loosens mats | Water compresses and tightens loose mats into firm ones | Always brush thoroughly before bathing; dry with a force dryer while combing |
| Brushing only the surface coat | The top layer looks fine, so owners stop there | Deep mats form undetected and are already Level 3 by the time they’re found | Part the coat in sections; brush layer by layer from the skin outward |
| Using a wide-paddle brush on a mat | It’s the brush that’s available | Drives the mat tighter; doesn’t penetrate the tangle at all | Use a dematting comb specifically designed for compacted coat structures |
| Cutting through a mat toward the skin | Scissors seem faster and easier | Poodle skin tents up into mats; cutting toward the skin frequently cuts skin too | Only cut parallel to the coat direction, from outside the mat outward |
| Forcing through in one long drag | Impatience; wanting to finish quickly | Painful for the dog; breaks coat, causes brush burn, destroys trust in grooming | Short strokes, section by section, from the outer edge toward the base |
| Skipping the Greyhound comb finish | The mat feels gone to the touch | Hidden sub-surface tangle remains; regrooms to a firmer mat within a week | Always confirm with a metal comb from skin to tip after dematting |
When to Ask a Professional Groomer
✂️ When to Call In a Professional
Professional groomers commonly watch for the following signs that home dematting is no longer appropriate — and experienced poodle owners learn to recognize them too:
- The mat is flat against the skin and can’t be lifted away from the body — this indicates pelt formation, not just a dense mat.
- Your poodle vocalizes, nips, or pulls away during any attempt to work the mat — pain signals mean the pressure required exceeds what’s appropriate at home.
- The mat covers the armpit, groin, or ear canal area — these zones carry a higher risk of skin fold irritation or damage from tools.
- The mat is present after bathing and is now tighter than before — wet-set mats require professional clipping.
- The coat shows redness, sores, or hot spots beneath or adjacent to the mat — a veterinarian or professional groomer should examine the skin before any grooming tool comes near it.
- You’ve spent more than 15 minutes on a single mat without significant progress — stop. Continuing will distress the dog and potentially injure the skin.
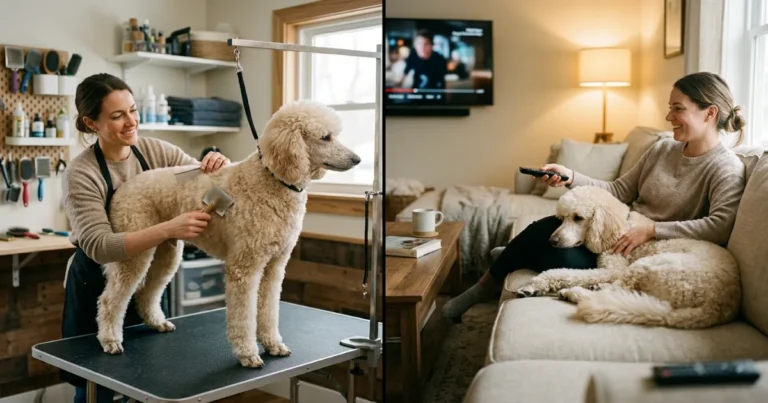
It’s worth saying plainly: booking a professional groom after discovering severe mats is not a failure. It’s sound judgment. Groomers who specialize in poodle coats have the tools, the technique, and — crucially — the dog-handling skills to make the process as stress-free as possible. According to AKC breed guidance, poodles thrive on consistent grooming from a young age, which means a positive association with professional grooming matters as much as the grooming outcome itself.
Owner Action Plan: Preventing Mats Before They Start
The most effective poodle mat removal strategy is the one you use before a mat fully forms. Once you understand how quickly poodle coats can mat — particularly during coat transition, wet weather, or high-activity periods — prevention becomes a simple routine rather than a recurring crisis.
📋 The PoodleGuru Weekly Mat Prevention Checklist
- Every 4–5 days: Run a Greyhound comb through all high-friction zones — behind the ears, collar line, armpits, inner thighs, and groin. If the comb catches, work it out immediately with a slicker brush and detangler.
- After every bath: Dry with a warm force dryer while combing through with a slicker brush in the direction of coat growth. Never let a poodle air-dry without brushing — this is the fastest route to Level 3 mats.
- After outdoor exercise in wet conditions: Towel-blot the coat (never rub — rubbing tangles the curl) and comb through once the coat is mostly dry.
- During coat transition (puppies 7–12 months): Brush daily with a slicker brush, as the puppy and adult coat textures tangle around each other at an accelerated rate during this window.
- Every 6–8 weeks: Book a professional groom that includes a thorough brush-out. Groomers will find and address any mats developing in areas you may have missed.
Frequently Asked Questions
Can I remove mats from my poodle at home, or do I always need a groomer?
Level 1 and Level 2 mats — loose tangles and soft, compressible knots — are manageable at home with the right tools and technique. Level 3 mats (firm, rigid clumps that don’t compress easily) carry a real risk of skin injury and are better left to a professional groomer. Level 4 pelted coats should never be attempted at home and require professional clipping only.
Does bathing a poodle help remove mats?
No — bathing a matted poodle makes mats worse. Water compresses and tightens loose tangles into dense, firm mats. Always brush and comb through the coat thoroughly before bathing. After bathing, use a warm force dryer while continuously combing the coat to prevent new mats from forming as the coat dries.
Why does my poodle mat so quickly even though I brush regularly?
Brushing only the surface coat is the most common cause. Poodle coats mat from the skin outward — the visible top layer can look fine while a dense tangle is forming below. Brushing must be done in sections, layer by layer from the skin to the tip, to actually prevent mat formation. A Greyhound comb check after brushing confirms you’ve reached all the way through.
What’s the best detangling spray for poodle mat removal?
Look for a spray formulated for curly, thick, or non-shedding coats rather than a general-purpose conditioning spray. The key function is adding slip to the hair shaft so tangled strands release with less force. Apply directly into the mat and give it 30 to 60 seconds to absorb before combing. Always check that the formula is safe for dogs, not adapted from a human hair product.
How do I remove a mat behind my poodle’s ear without hurting them?
Ear mats are among the most sensitive because the skin behind the ear is thin and the area is close to the ear canal. Apply detangling spray, anchor the mat’s base firmly with your fingers, and use a dematting comb in very small, short strokes starting at the outermost edge. Never use scissors near the ear canal. If the mat is flat against the skin or the dog resists, stop and contact a groomer.
Can mats hurt my poodle even if I leave them?
Yes. Mats tighten over time and pull continuously on the skin, which causes chronic low-level pain, skin irritation, and restricted movement in areas like the legs or armpits. Severe pelted coats trap moisture and warmth against the skin, creating conditions for hot spots, fungal infections, or skin fold dermatitis. Mats that cover wounds can hide injuries from owners for extended periods.
How often should I brush my poodle to prevent mats?
Veterinary grooming guidance generally recommends a thorough brush-out at least every 2–3 days for full poodle coats, with daily attention during coat transition (puppies between seven and twelve months). High-friction zones — armpits, collar area, behind the ears, and inner thighs — should be checked every 4–5 days regardless of grooming schedule. Shorter puppy cuts and sporting clips reduce mat frequency significantly.
Key Takeaways: Poodle Mat Removal
Use these standalone facts to guide your approach before, during, and after any poodle mat removal session.
- Poodle mats form because the breed’s non-shedding coat traps dead hairs — brushing only the surface layer leaves deep tangles undetected until they become firm mats.
- The PoodleGuru Mat Severity Scale assigns four levels (tangle, soft mat, firm mat, pelt) — Level 1 and 2 are owner-manageable; Level 3 warrants a groomer; Level 4 must be professionally clipped.
- Bathing a matted poodle worsens mats — always brush thoroughly before bathing, and use a force dryer while combing after every bath.
- The correct technique is short strokes from the outer mat edge inward with the base anchored by your free hand — not long full-length drags from root to tip.
- A Greyhound comb passing from skin to tip without catching is the only reliable confirmation that a mat is fully removed.
- Mats left in place tighten over time, pull continuously on the skin, and can trap moisture that leads to hot spots, infection, and hidden wounds — early removal is always easier and less painful.
Next step: Build a complete poodle grooming routine that keeps mats from reaching the point where removal becomes a project.